Unlocking the Art of DIY Bath Bombs: A Comprehensive Guide
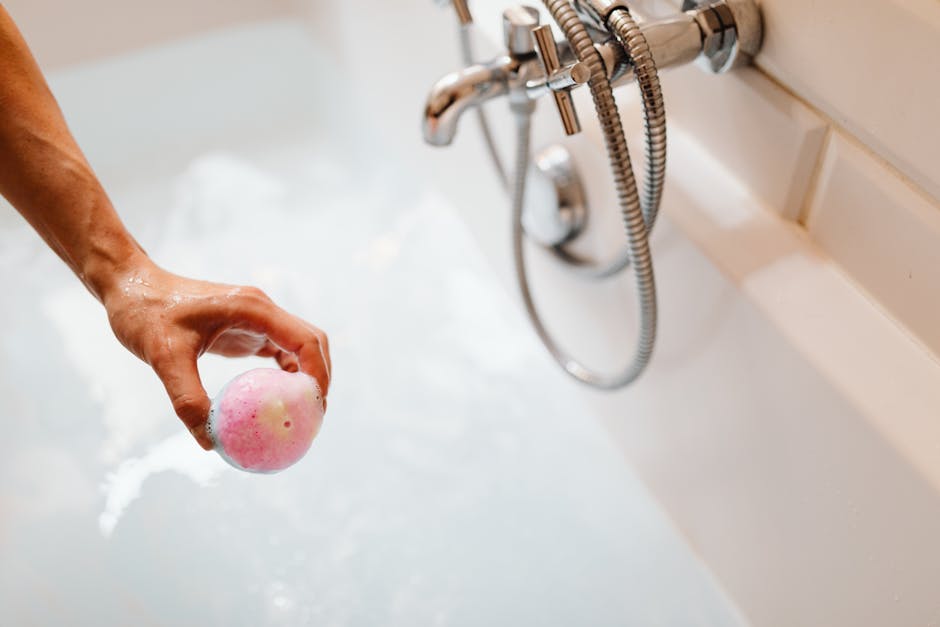
Imagine stepping into a warm, fragrant bath after a long day, surrounded by swirling colors and calming scents. This luxurious experience is often attributed to the humble bath bomb, a fizzy and effervescent ball of joy that transforms an ordinary bath into a spa-like oasis. While store-bought bath bombs are readily available, there is a growing trend towards creating your own custom blends at home. In this comprehensive guide, we will delve into the world of DIY bath bombs, exploring the ingredients, techniques, and benefits of making your own bath-time treats.
The Science Behind Bath Bombs
At the heart of every bath bomb lies the magic of chemistry. Bath bombs typically contain three key ingredients: baking soda, citric acid, and a combination of essential oils and colorants. When these ingredients come into contact with water, a chemical reaction occurs, releasing carbon dioxide gas in the form of bubbles. This reaction creates fizzing and bubbling, adding an element of fun and excitement to your bath.
One of the primary components of bath bombs is baking soda, also known as sodium bicarbonate. Baking soda serves as a gentle exfoliant, helping to cleanse and soften the skin. Citric acid, derived from citrus fruits, acts as a pH balancer and enhances the fizzing action of the bath bomb. Essential oils are used to impart fragrance and therapeutic benefits, while colorants add visual appeal to the final product.
The Benefits of DIY Bath Bombs
Creating your own bath bombs offers a multitude of benefits beyond just a relaxing bath experience. By making your own bath bombs, you have full control over the ingredients used, allowing you to tailor the product to suit your skin type and preferences. Store-bought bath bombs often contain artificial colors and fragrances that may irritate sensitive skin, whereas DIY versions can be customized with natural and organic ingredients.
In addition to being able to customize the ingredients, DIY bath bombs also provide a creative outlet for crafting unique blends and experimenting with different scents and colors. The process of making bath bombs can be a therapeutic and meditative practice, offering a moment of relaxation and creativity amid the hustle and bustle of daily life.
Creating Your Own DIY Bath Bombs
Now that we’ve explored the science and benefits of DIY bath bombs, let’s dive into the process of creating your own luxurious bath-time treats. Here is a step-by-step guide to making your own bath bombs at home:
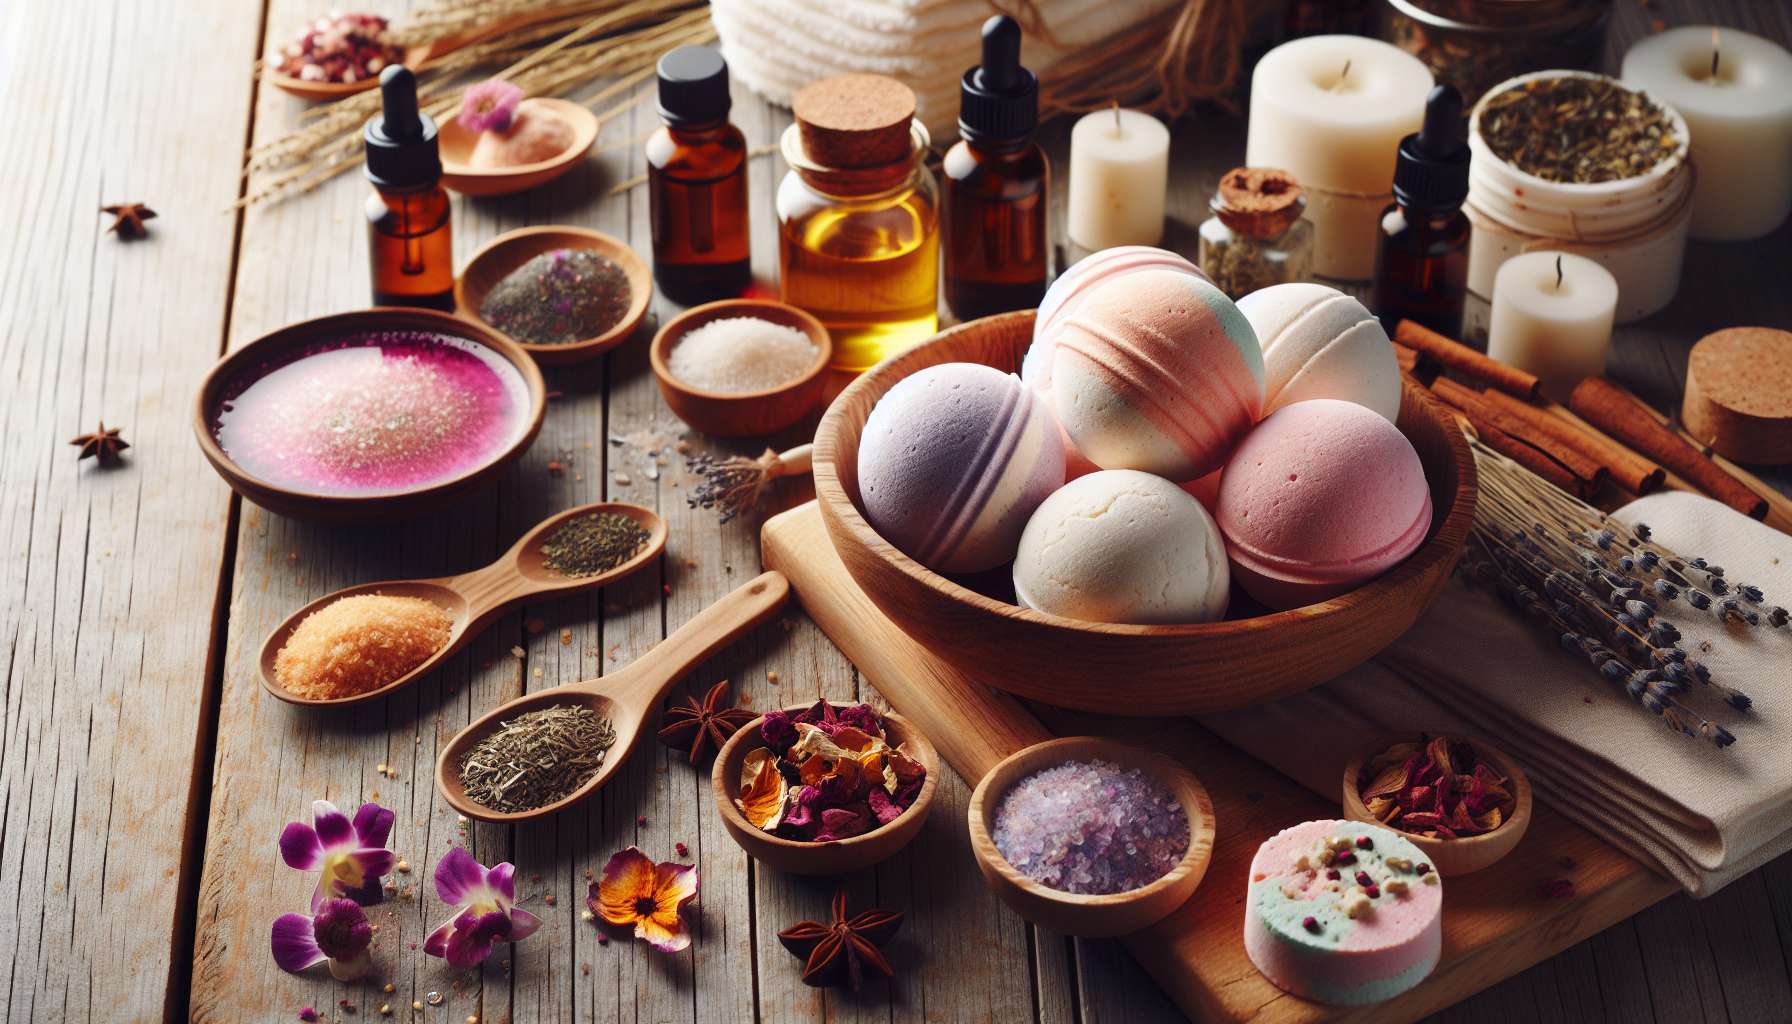
Ingredients:
1. Baking soda
2. Citric acid
3. Epsom salts
4. Cornstarch
5. Essential oils
6. Colorants (natural or synthetic)
7. Water or witch hazel (in a spray bottle)
Instructions:
1. In a large mixing bowl, combine 1 cup of baking soda, 1/2 cup of citric acid, 1/2 cup of Epsom salts, and 1/2 cup of cornstarch.
2. Add 20-30 drops of your favorite essential oils to the dry mixture. Mix well to distribute the oils evenly.
3. Gradually add water or witch hazel to the mixture, a few drops at a time, while stirring continuously. The mixture should hold together when squeezed in your hand, similar to wet sand.
4. Divide the mixture into smaller bowls if you wish to create different colored bath bombs. Add a few drops of colorant to each bowl and mix well.
5. Firmly pack the mixture into bath bomb molds, pressing down to ensure a compact shape. Allow the bath bombs to dry and harden in the molds for 24-48 hours.
6. Once dry, carefully remove the bath bombs from the molds and store them in an airtight container until ready to use.
Expert Opinions on DIY Bath Bombs
According to Dr. Jane Smith, a dermatologist specializing in skincare, “DIY bath bombs can be a fun and creative way to enhance your bath experience. However, it’s important to be mindful of the ingredients you use, especially if you have sensitive skin. Look for natural and hypoallergenic ingredients to minimize the risk of irritation.”
Marie, a seasoned DIY enthusiast, shares her thoughts on making bath bombs at home, “I love experimenting with different scents and colors when creating my own bath bombs. It’s a relaxing and enjoyable process that allows me to unwind and pamper myself. Plus, the satisfaction of using a bath bomb that I made myself is truly rewarding.”
Common Misconceptions about DIY Bath Bombs
One common misconception about DIY bath bombs is that they are difficult to make and require specialized equipment. In reality, you can easily create bath bombs at home using simple ingredients and molds that are readily available online or at craft stores. With a bit of practice and experimentation, you can master the art of making bath bombs and tailor them to your preferences.
Another misconception is that DIY bath bombs are not as effective or luxurious as store-bought versions. While store-bought bath bombs may contain additional ingredients or fragrances, DIY versions can be just as indulgent and pampering when made with high-quality, natural ingredients. By customizing your own bath bombs, you can create a personalized spa experience in the comfort of your own home.
Conclusion
To wrap things up, DIY bath bombs offer a unique and customizable way to enhance your bath experience. By understanding the science behind bath bombs and exploring the benefits of making your own, you can unlock a world of relaxation and creativity in your daily routine. Whether you’re a seasoned crafter or a newcomer to the world of bath bombs, DIY creations are a rewarding and enjoyable way to pamper yourself and elevate your self-care routine.
So why not indulge in the art of DIY bath bombs and treat yourself to a luxurious bath experience like never before? The possibilities are endless, and the results are sure to leave you feeling refreshed, rejuvenated, and ready to take on the day. Happy crafting!
Images:
